
Quick Answer
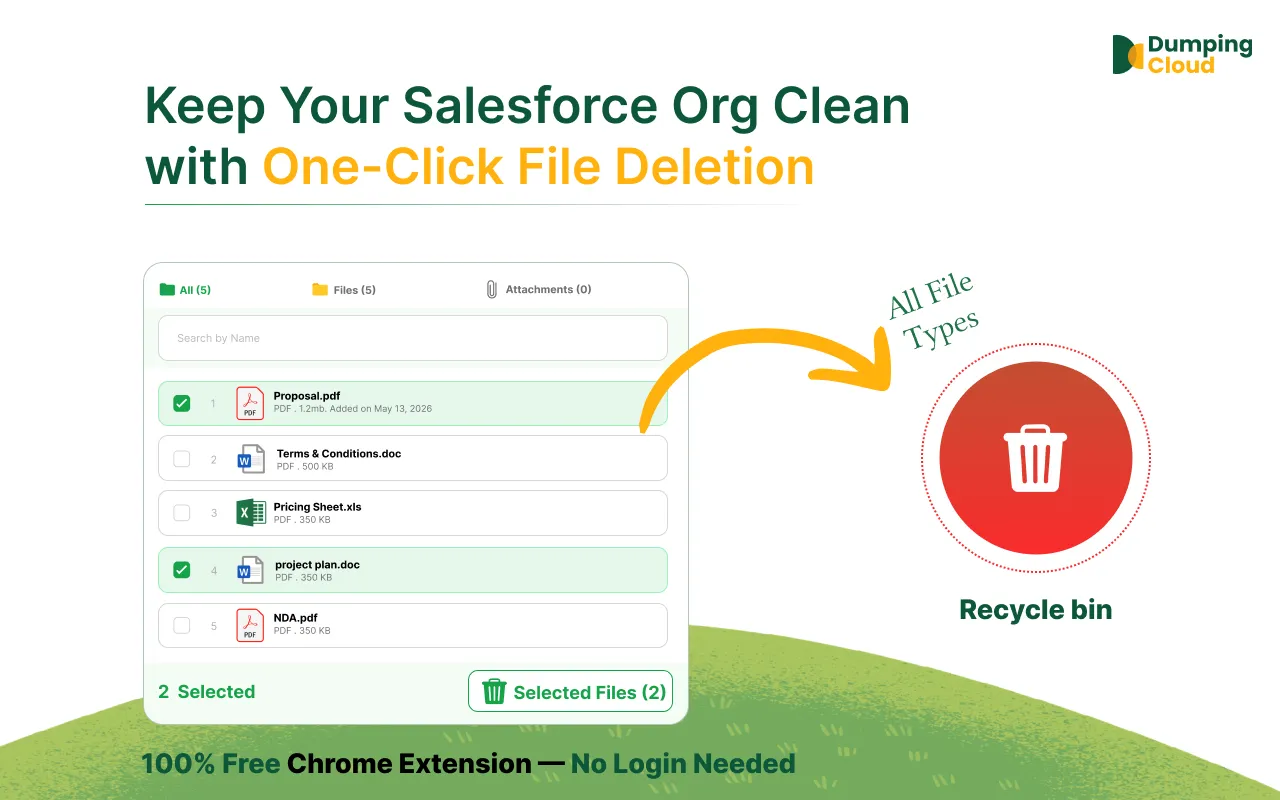
To delete Salesforce files in bulk, open Salesforce Files Manager on your record page, select individual files or use “Select All,” click Delete, and confirm your selection. Remove obsolete, duplicate, or unwanted files from standard and custom Salesforce records without navigating to individual file detail pages. Deleted files can be restored from the Salesforce Recycle Bin within 15 days, provided it has not been emptied.
The Problem: Salesforce Orgs Accumulate File Clutter Fast and Cleaning It Up is Painfully Slow
Every active Salesforce Org has the same story.
Test files uploaded during UAT that never got removed. Duplicate attachments created when users re-uploaded instead of versioning. Obsolete proposal drafts sitting on closed Opportunities. Temporary documents attached during a support Case that have long since been resolved. Incorrect files uploaded to the wrong record by well-meaning users.
Over months and years, this clutter compounds consuming expensive Salesforce file storage, creating confusion for users trying to find the right version of a document, and making records harder to navigate.
Native Salesforce allows you to delete files but only one at a time, and only after navigating into each file’s detail page individually. For an Admin tasked with cleaning up hundreds of records or performing a bulk file audit, this is not a process. It is a punishment.
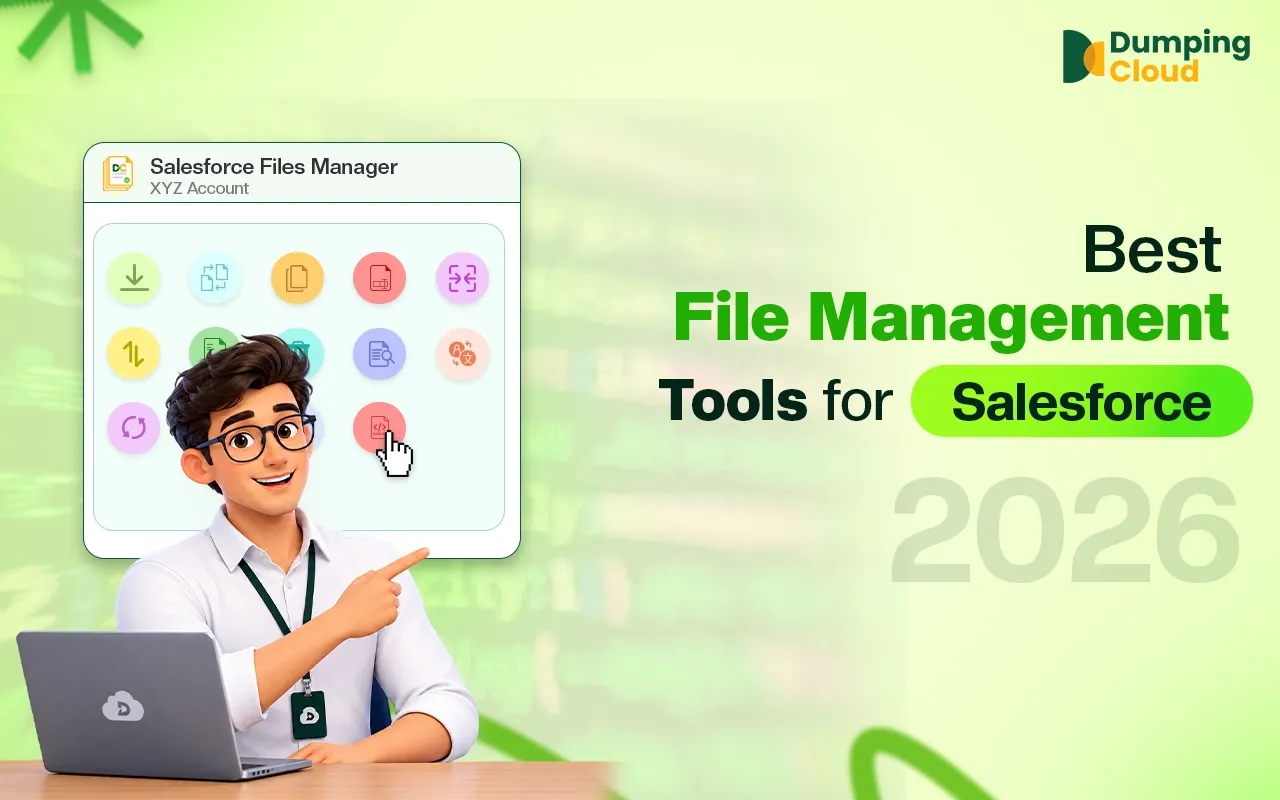
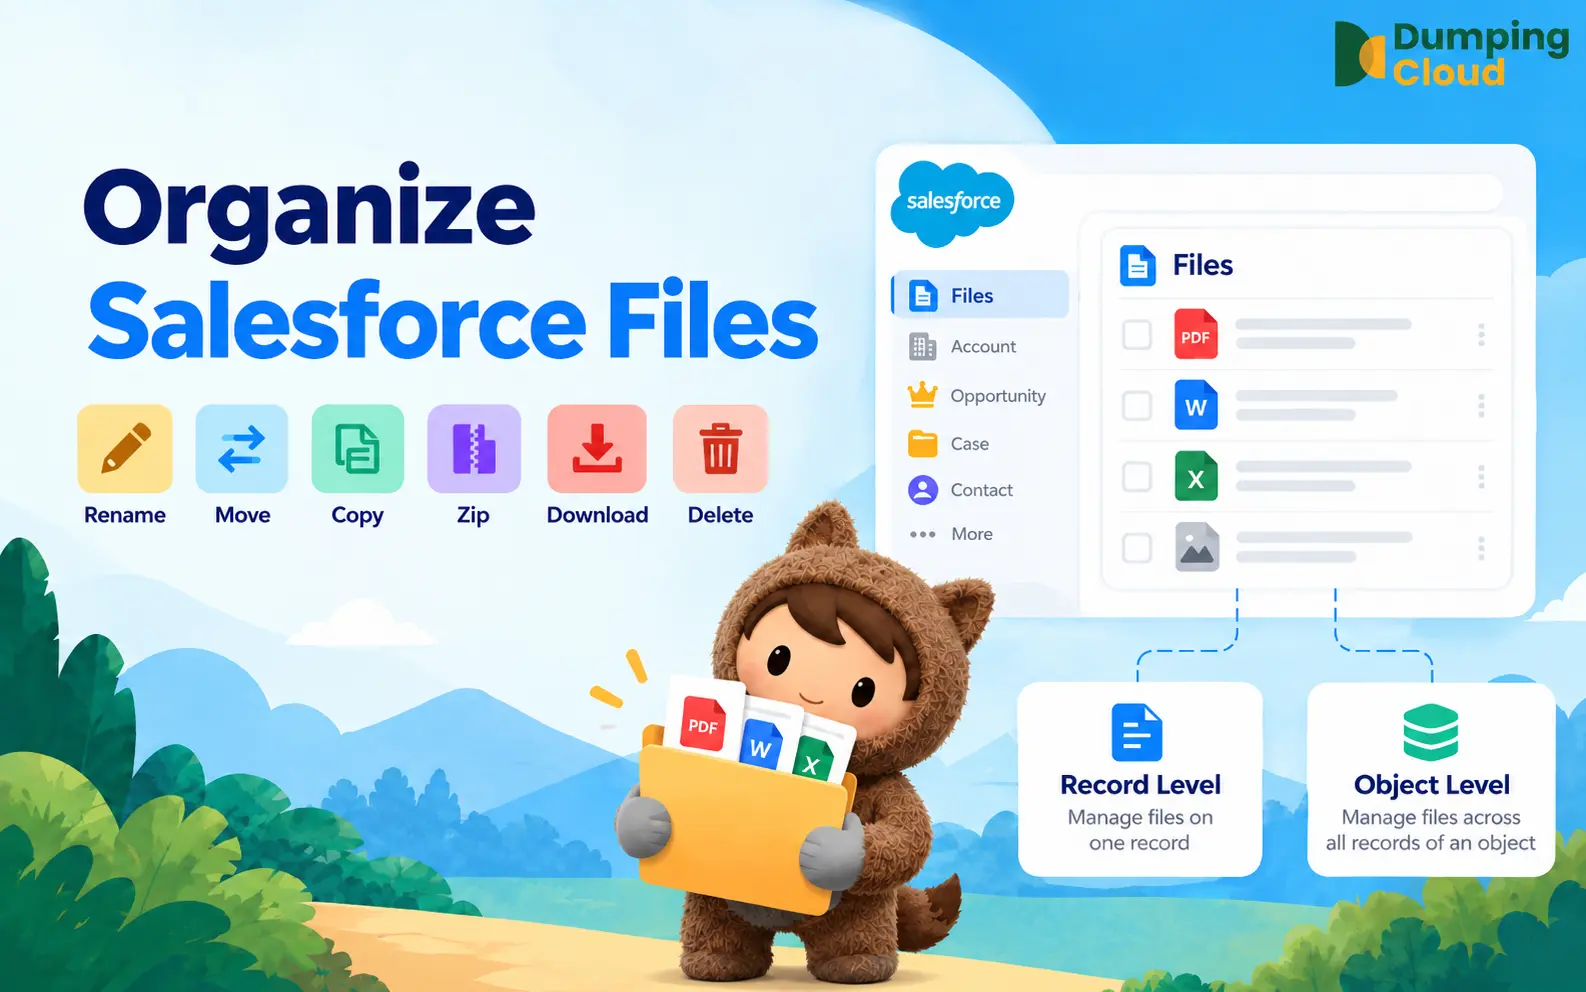
Salesforce Files Manager gives Admins a fast, reliable, and controlled bulk delete capability allowing you to remove single or multiple files from any record in a matter of clicks, without navigating away from the record page.
What the Delete Feature Does
The Delete feature in Salesforce Files Manager allows you to:
- Delete a single file from any Salesforce record in one click
- Select and delete multiple files simultaneously from the same record
- Delete all files at once using the “Select All” action
- Work across any standard or custom Salesforce record Accounts, Contacts, Opportunities, Cases, Contracts, and more
- Perform deletions without re-authenticating the extension uses your active Salesforce session throughout.
Who Benefits Most
The Delete feature is particularly valuable for Salesforce Admins in the following scenarios:
- Post-UAT cleanup — Removing test files uploaded during user acceptance testing or sandbox refreshes that were inadvertently pushed to production
- Storage optimisation — Identifying and deleting obsolete, duplicate, or oversized files to reduce Salesforce file storage consumption and costs
- Record merges — Removing redundant files after merging duplicate Accounts, Contacts, or Leads
- Data quality initiatives — Bulk-removing incorrectly uploaded files as part of a broader org hygiene project
- Case closure workflows — Clearing temporary working documents from resolved Cases before archiving
- Duplicate file removal — Deleting re-uploaded copies where users uploaded the same file multiple times instead of creating a new version
An Important Note on Deletion in Salesforce
Before using the Delete feature, Salesforce Admins should be aware of how file deletion works within the platform:
- Deleting a file from a record removes it from Salesforce entirely if it is only linked to that one record. The file moves to the Salesforce Recycle Bin and is permanently deleted after 15 days, or when the Recycle Bin is manually emptied.
- If the same file (ContentDocument) is linked to multiple records, deleting it from one record removes only that association — the file remains accessible from the other records it is linked to.
- Deleted files can be restored from the Recycle Bin within the 15-day window, provided the Recycle Bin has not been emptied.
- The Delete operation respects your Salesforce profile permissions — you can only delete files your user has permission to delete.
Step-by-Step: How to Delete Files Using Salesforce Files Manager
Prerequisites
Before you begin, ensure the following:
- Google Chrome is installed on your desktop
- Salesforce Files Manager is installed from the Chrome Web Store
- You are logged into your Salesforce Org in the same Chrome browser
- You have the necessary Salesforce permissions to delete files on the target record
- You have confirmed which files are safe to delete — bulk delete is fast and should be used deliberately
Follows these simple steps to delete files using Salesforce File Manager
01
Step 1: Navigate to the Record
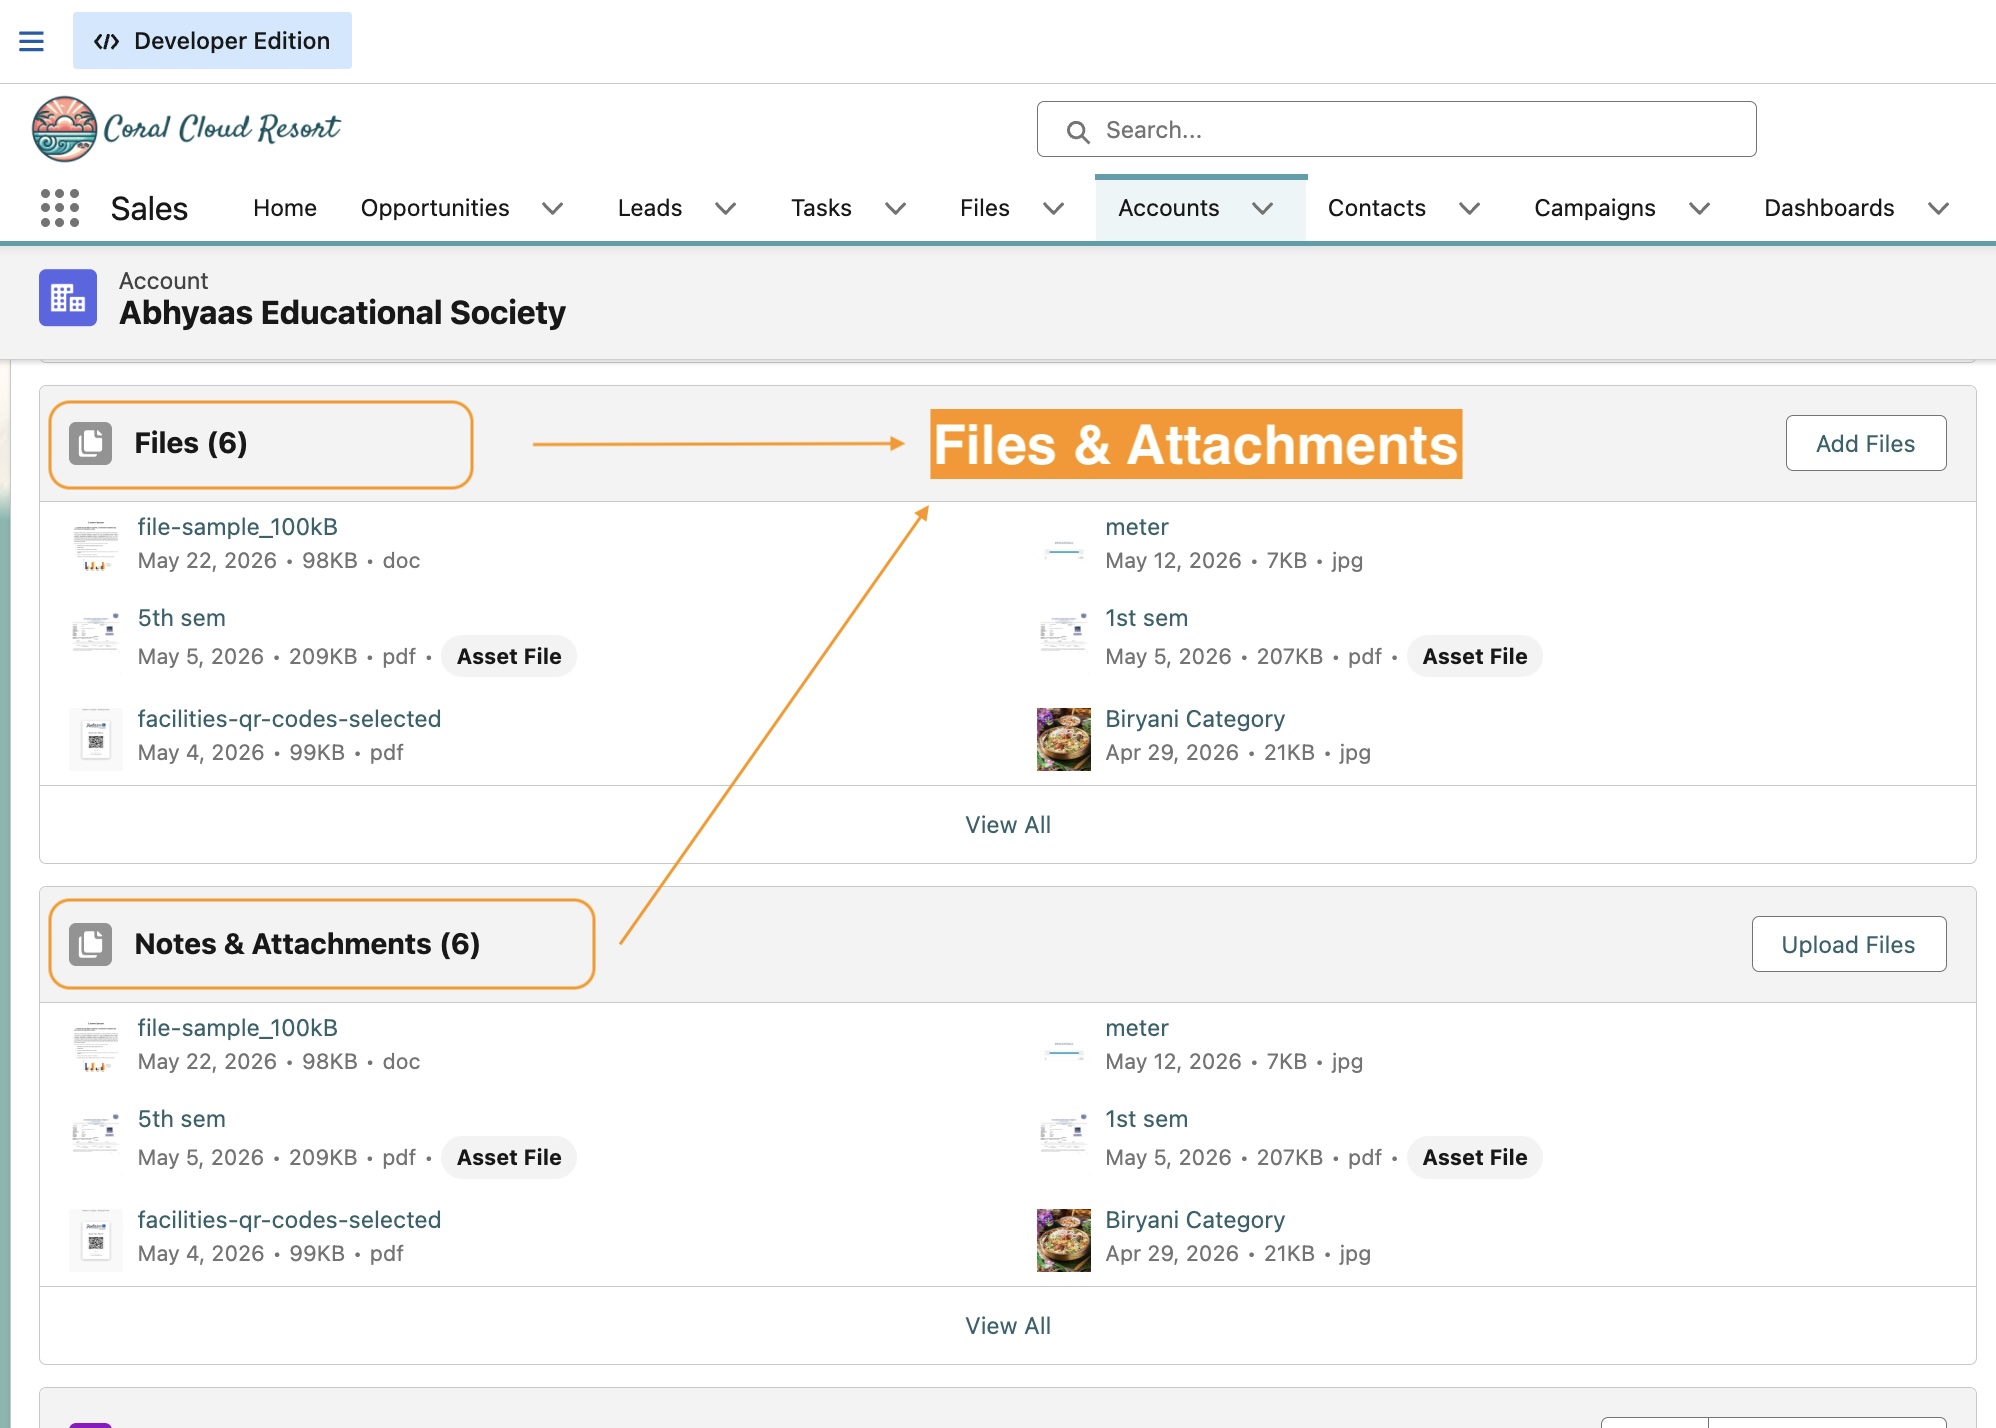
Open Google Chrome and log in to your Salesforce Org. Navigate to the record containing the file(s) you want to delete.
Confirm the files you intend to delete are visible in the Files related list on that record.
02
Step 2: Open Salesforce Files Manager
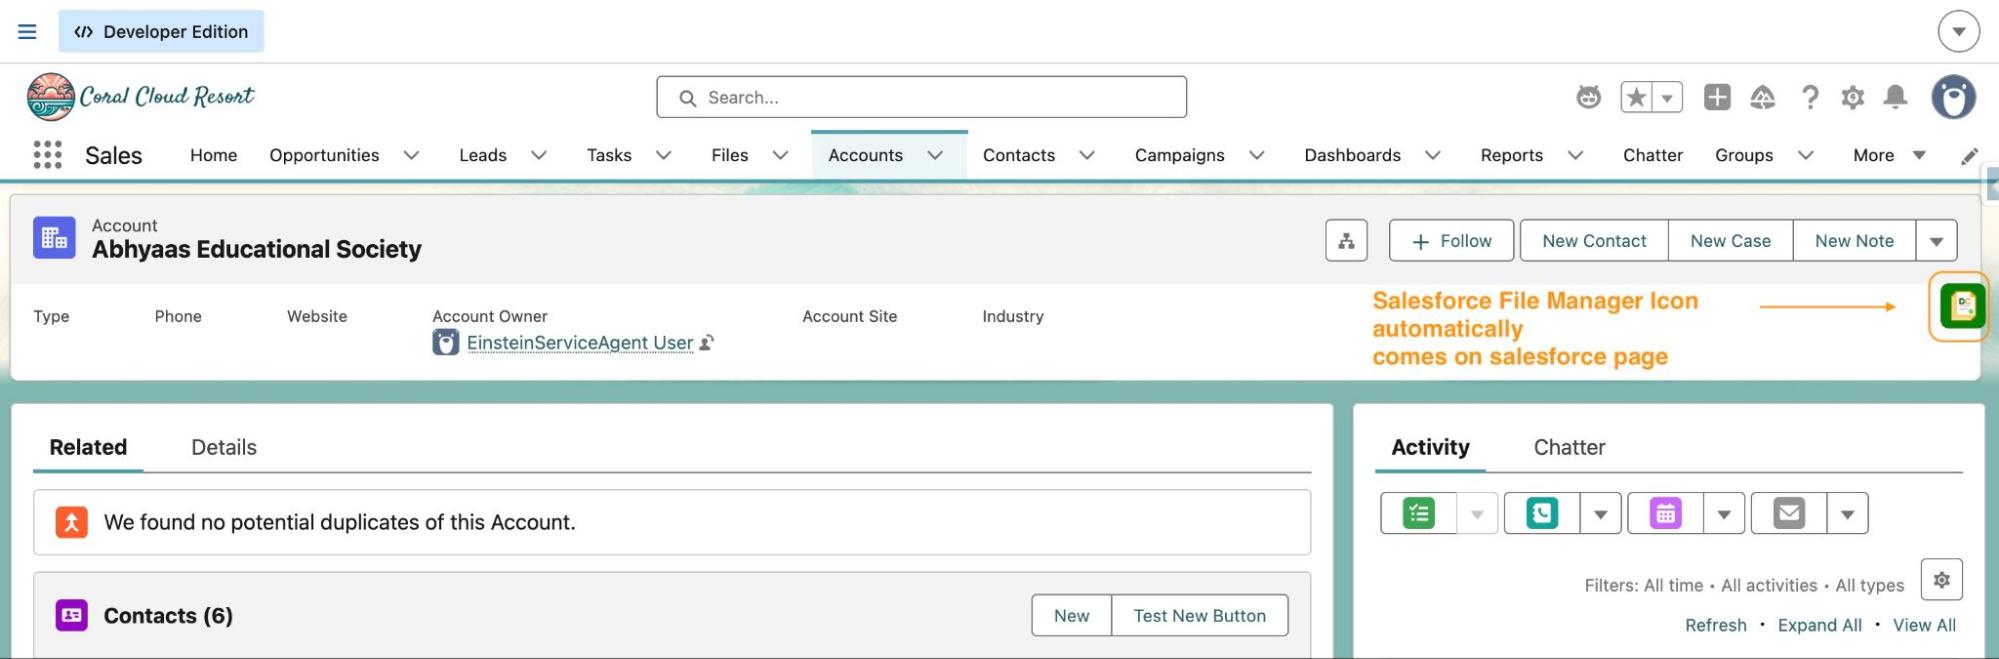
Click the Salesforce Files Manager icon. The extension automatically detects your active Salesforce session. No additional login is required.
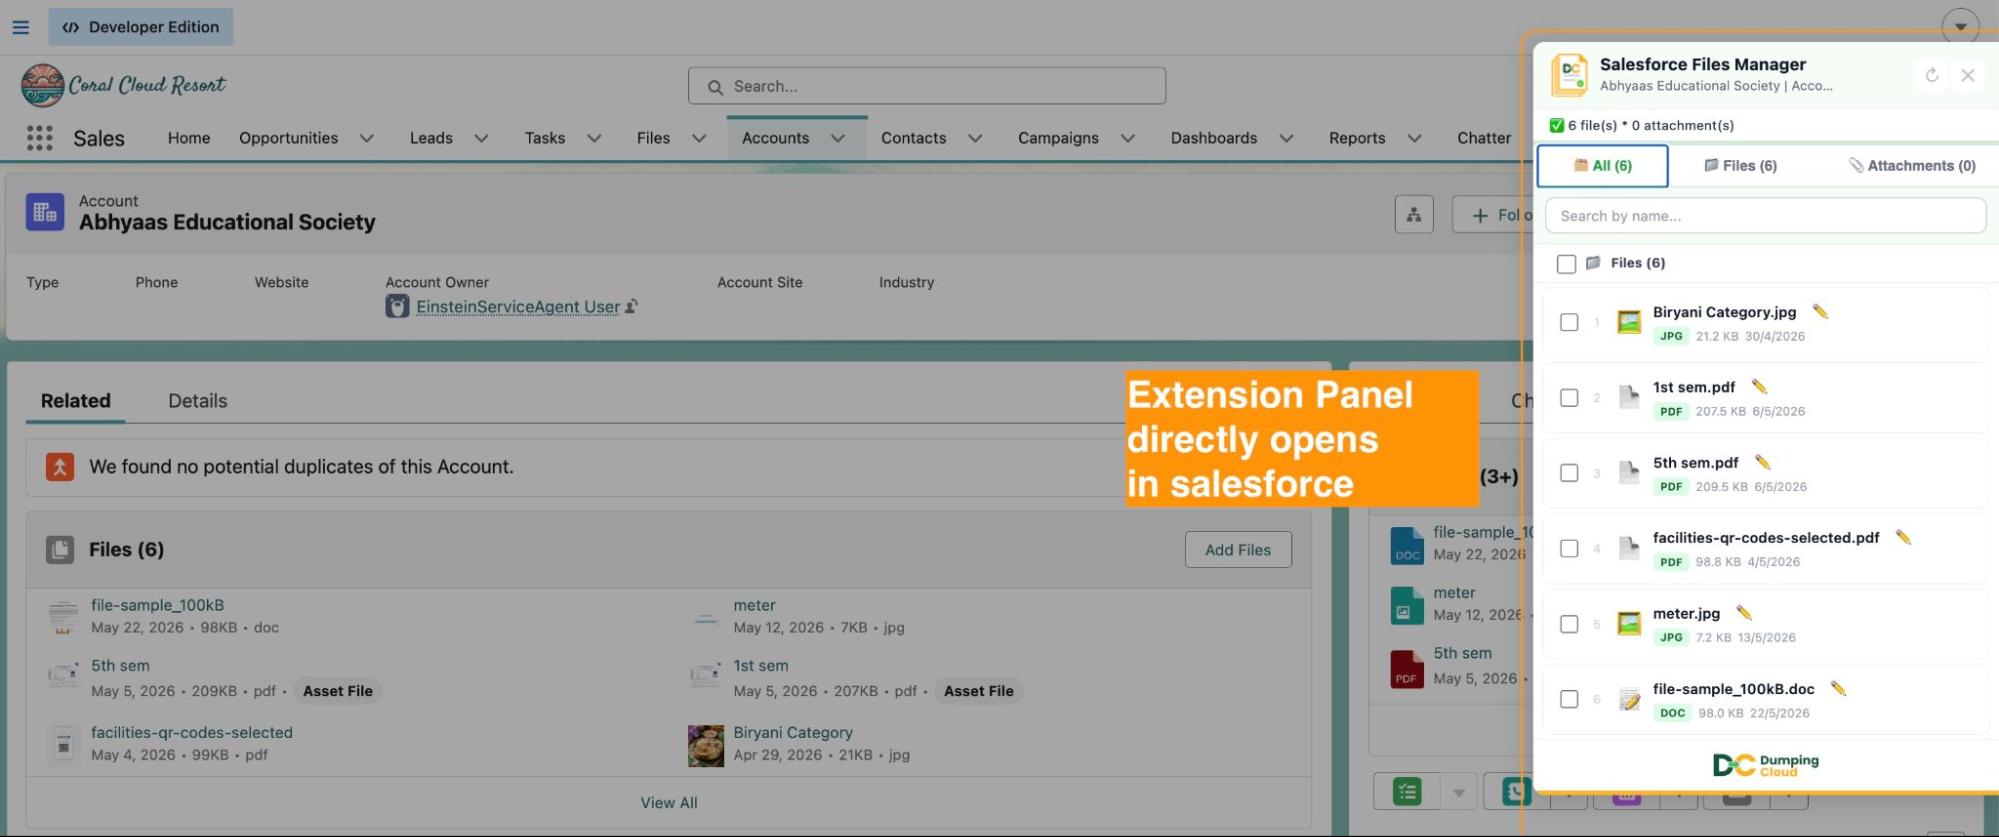
The extension panel will open and automatically load all files and attachments associated with the current record.
03
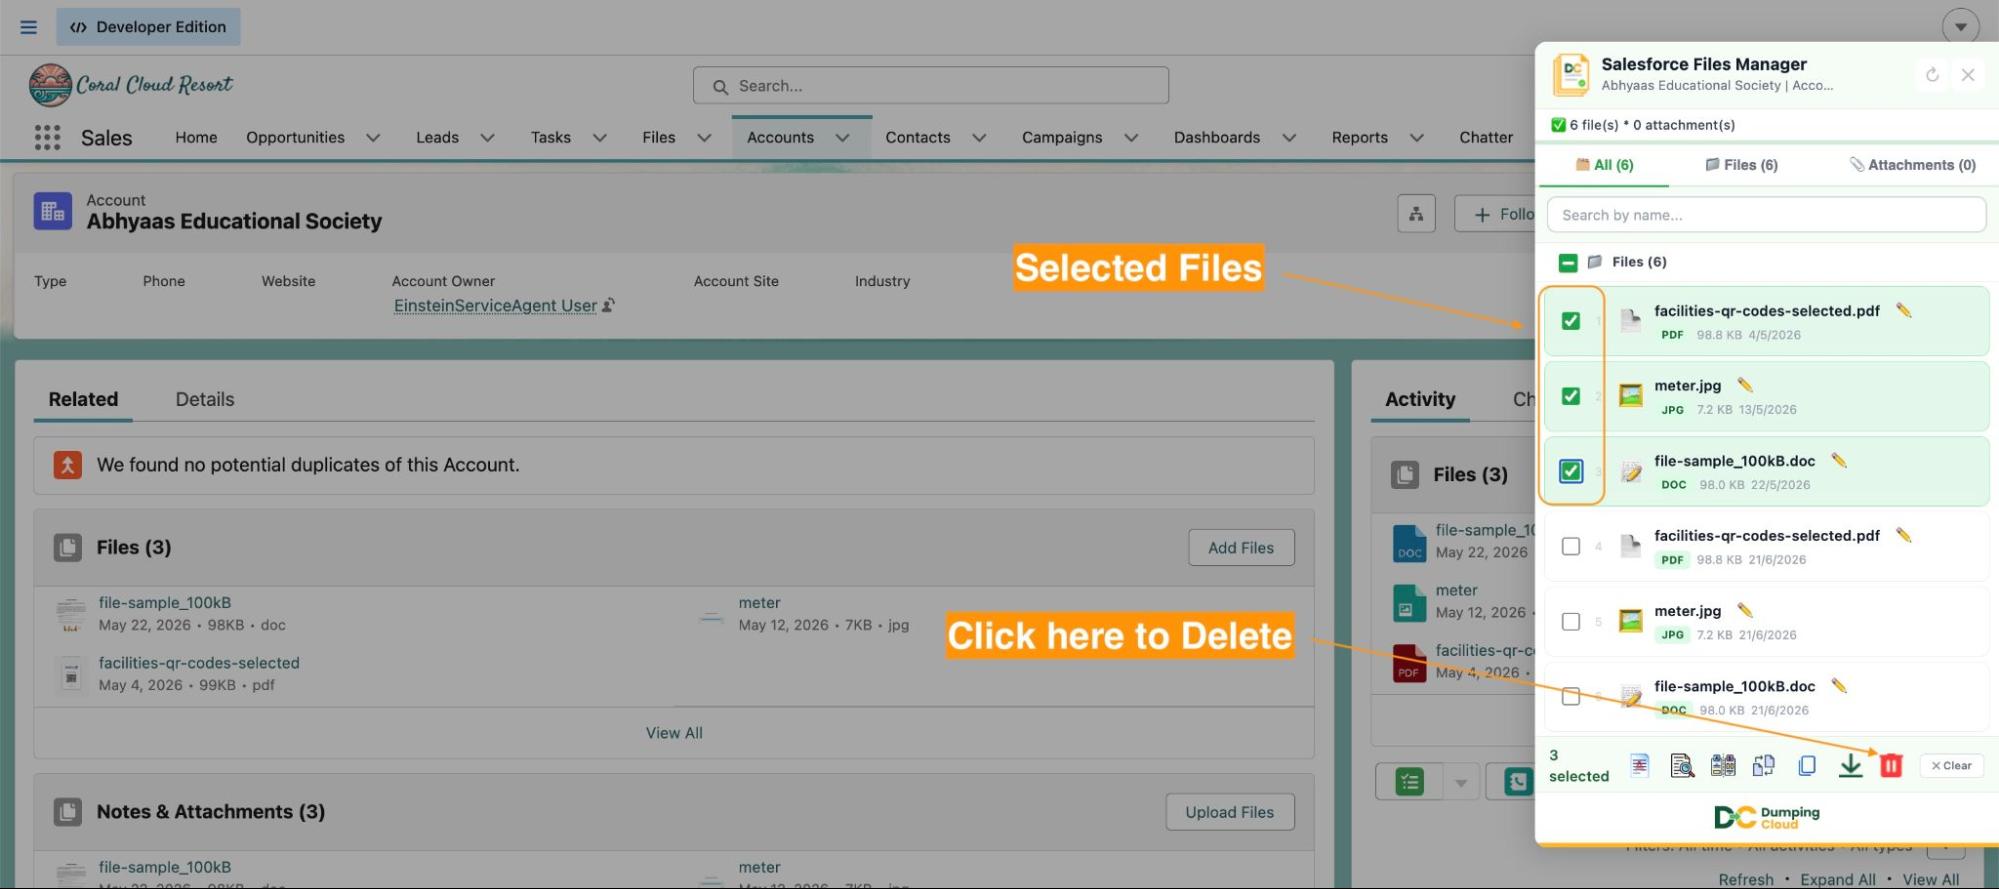
Step 3: Select the File(s) to Delete
To delete a single file: Click the checkbox next to the specific file you wish to remove.
To delete multiple specific files: Click the checkboxes next to each file you want to delete. You may select any combination of files across the list.
To delete all files on the record: Click the “Select All” checkbox at the top of the file list to select every file in one action.
04
Step 4: Click the “Delete” Button
With your files selected, click the “Delete” button in the extension panel action bar.
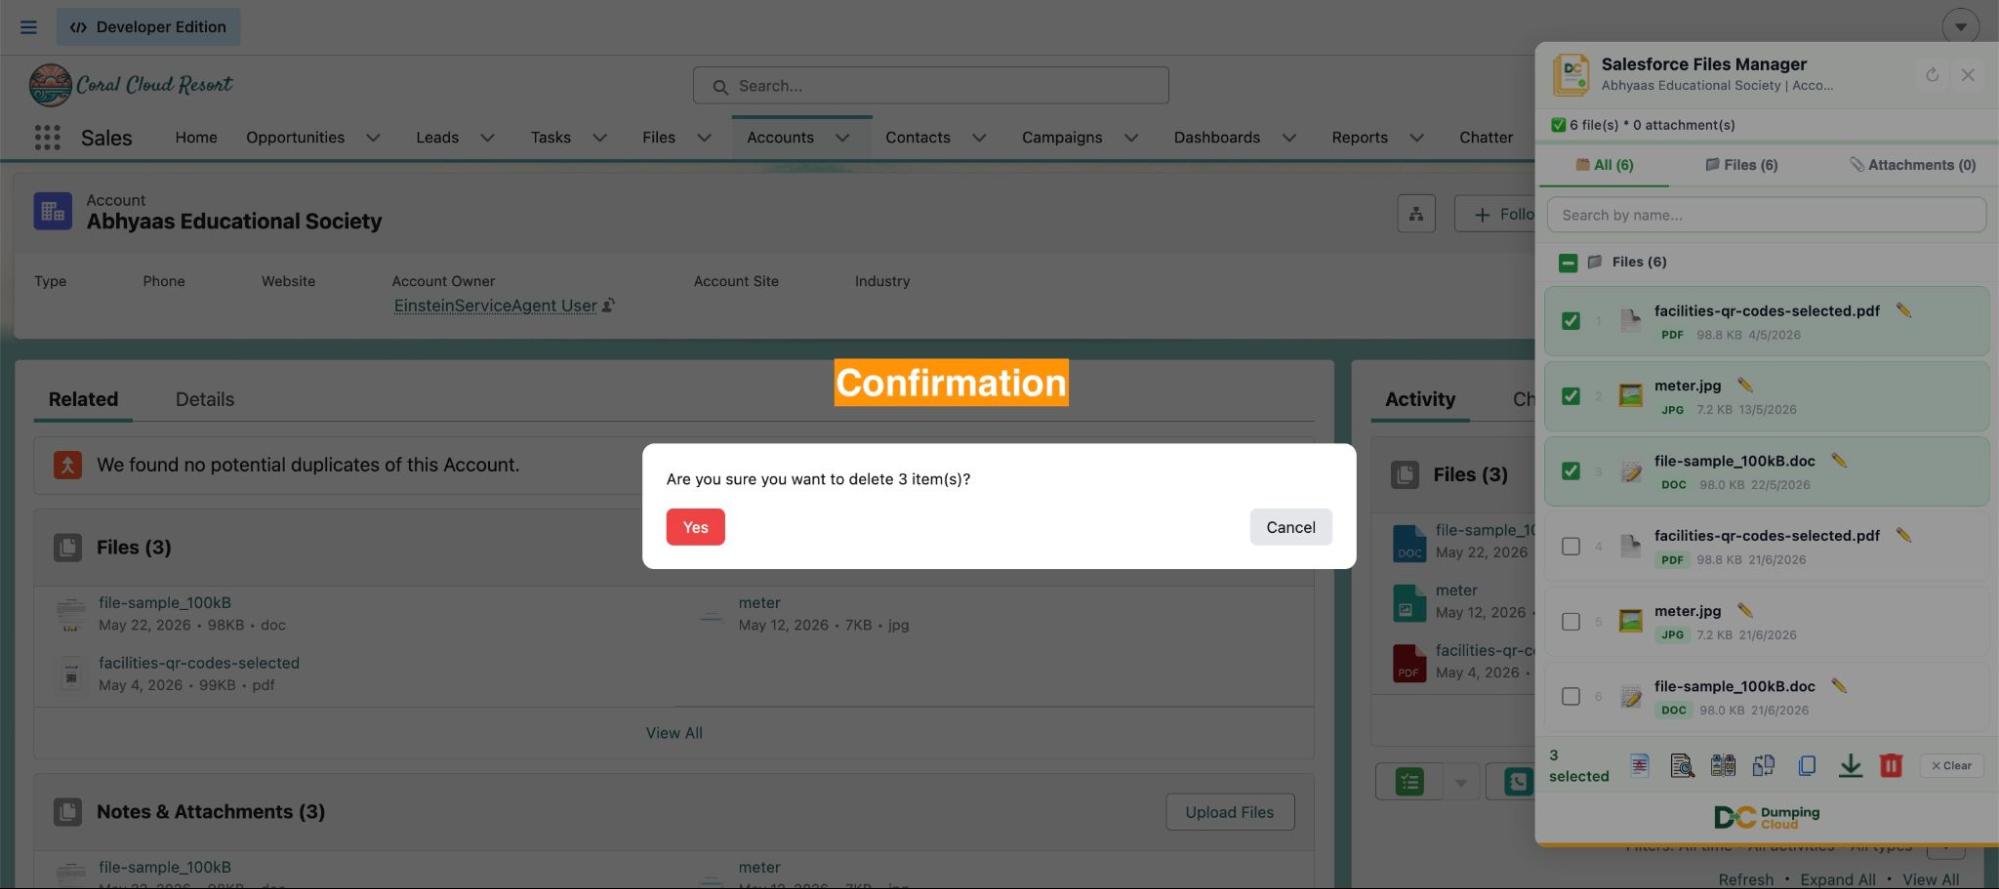
A confirmation prompt will appear before any deletion takes place, asking you to verify that you intend to delete the selected files.
05
Step 5: Confirm the Deletion
Review the confirmation prompt carefully. It will display the count of files selected for deletion.
Click “Yes” to proceed. Click “Cancel” if you wish to review your selection before proceeding.
06
Step 6: Deletion Complete
Once confirmed, the extension will delete the selected files from the record. A success message will confirm the number of files removed.
The file list in the extension panel will refresh automatically, reflecting the updated state of the record.
07
Step 7: Verify on the Salesforce Record
Navigate to the Files related list on the Salesforce record to confirm the deleted files no longer appear. If you need to recover a file within the 15-day window, navigate to the Salesforce Recycle Bin to restore it.
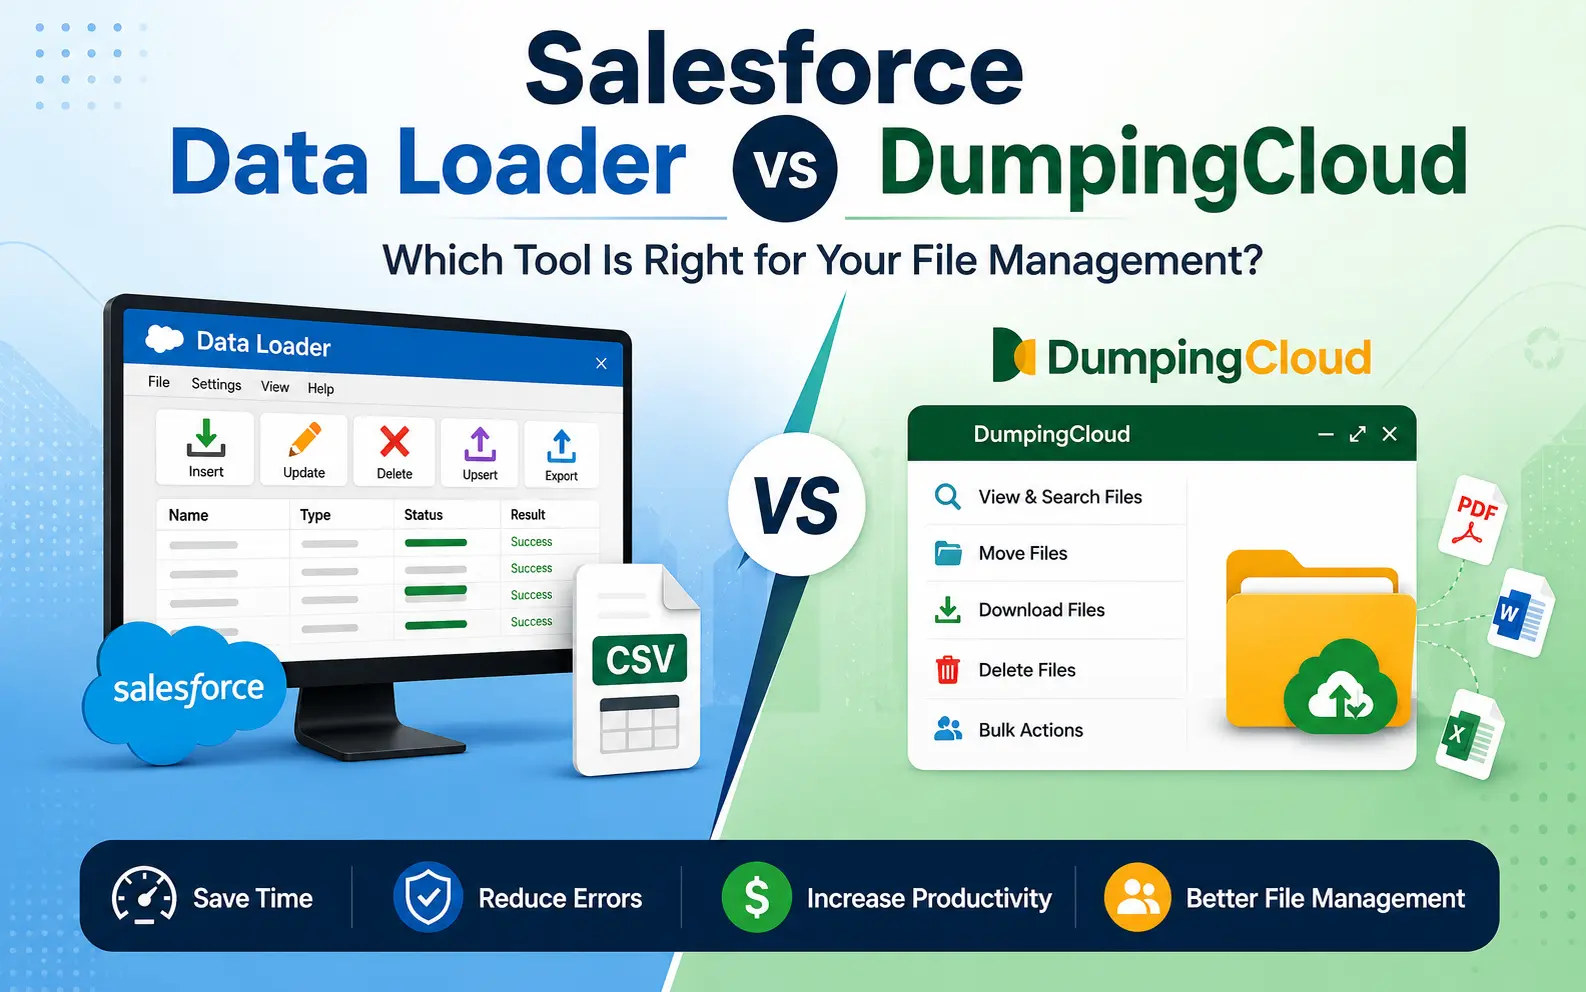
Key Advantages Over Native Salesforce
| Capability | Native Salesforce | Salesforce Files Manager |
|---|---|---|
| Delete a single file | ✅ Supported (via file detail page) | ✅ Supported (directly from panel) |
| Delete multiple files at once | ❌ Not supported | ✅ Supported |
| Delete all files in one click | ❌ Not supported | ✅ Supported |
| Confirmation prompt before deletion | ✅ Yes | ✅ Yes |
| Requires navigating to file detail page | ✅ Required | ❌ Not required |
| Works across all record types | Partial | ✅ All standard & custom objects |
Summary
File clutter is one of the most common and costly maintenance challenges in a Salesforce Org consuming storage, degrading record quality, and slowing down users trying to find the right documents. Native Salesforce offers no efficient way to address this at scale.
The Delete feature in Salesforce Files Manager gives Admins the speed and control they need to clean up records decisively whether removing a single misplaced file or bulk-deleting dozens of obsolete attachments in a single operation. Combined with a built-in confirmation prompt and Salesforce’s native Recycle Bin safety net, it is a powerful tool that can be used confidently and without risk of irreversible mistakes.
Ready to manage Salesforce Files faster?
Download, move, rename, merge, split, convert, compare, and manage your Salesforce Files — without leaving Salesforce.

Frequently Asked Questions
What if a file is linked to multiple records — will deleting it remove it from all of them?
If a file (ContentDocument) is associated with multiple records, deleting it from one record removes only that specific association (ContentDocumentLink). The file remains accessible from all other records it is linked to. The file is only fully deleted when removed from its last associated record.
Is there a confirmation step before files are deleted?
Yes. DumpingCloud - Salesforce Files Manager displays a confirmation prompt listing the selected files before any deletion is executed. No files are removed until you explicitly confirm the action.
Can I undo a bulk delete?
Individual file restoration is possible via the Salesforce Recycle Bin within 15 days of deletion. There is no one-click bulk undo within the extension, which is why the confirmation prompt and careful selection are important.
Do I need System Administrator permissions to delete files?
You need sufficient Salesforce permissions to delete files on the relevant record. The extension respects your existing Salesforce profile and sharing rules — it cannot delete files your user does not have permission to remove.
Will deleting files through the extension affect Salesforce storage immediately?
Files moved to the Recycle Bin continue to count against your Salesforce storage until they are permanently deleted (after 15 days or upon manually emptying the Recycle Bin). To reclaim storage immediately, empty the Recycle Bin after deletion.